Search This Blog

Showing posts with label Unified Interface. Show all posts

Friday, 14 December 2018

Recreating the My Bookings and Tasks view using Calendar Controls in the Unified Interface

One useful piece of functionality in Dynamics 365 for Project Service Automation (PSA) is the My Bookings and Tasks view. This view gives resources a quick and easy way to view information that is only related to them, rather than having to go through the clicks of navigating to the schedule board and searching for themselves. 


Currently in version 3.2 of PSA, this view hasn't been moved over from the legacy client. This makes it a great example as to how we can use custom controls in the unified interface to replicate this functionality through your own customisation. 


Using the Calendar Control

There are various custom controls now available to us in D365, and one of these is the calendar control. Providing your record is time-based, the calendar control allows you to depict a view as a calendar. So in this example, your view will be 'My Project Tasks' and 'My Bookable Resource Bookings', giving the resource a holistic view of everything they have planned for the month. 


The first step is to ensure you have a view with the correct filter criteria, otherwise it will pull incorrect data. To do this, I am going to take a copy of the out of the box 'Active Bookable Resource Bookings' view, and change the filter criteria.


The key thing I need to specify is that the booking relates to my bookable resource and the status does not equal cancelled. Therefore I need to set the criteria as seen below whereby the user linked to my resource equals the current user and the status is not cancelled.

Now that I have my criteria specified, I can change this view to show as a calendar by adding the control. You can do this by navigating to your view and clicking Custom Controls.


Click Add Control.


Select the Calendar Control and click Add.


Now you've added the control, you need to specify which field values will be used to display records on the calendar i.e. Start Time should be taken from the Start Time field on the Bookable Resource Booking. Do this by selecting the icon as per below.


Then choose the values you want to map. 


Fill in the remaining values that need mapping and click OK


Also ensure that the calendar control is the one that is set to default.


Now I've set up my calendar control, I need to add this to the unified interface. I need to start by adding the Bookable Resource Booking entity and Project Task entity to the Project Resource Hub sitemap (which is a unified interface app). 


I also made sure only the My Active Bookings view and My Project Tasks would be the only views available by amending the Project Resource Hub app designer.


After saving and publishing, I navigated to the Project Resource Hub and there you have it. Both entities now only show the relevant views and default to the calendar, rather than the standard read only grid view.

Summary

This is just one example of how the calendar control could be used, as you can see it allows us to improve the user's experience and extend functionality, adding a huge amount of value to what we can do with standard customisation in D365. This example is a fairly basic and relatively quick piece of customisation, yet it replicates a considerable piece of custom development in earlier versions of PSA. 

Monday, 5 November 2018

Adding Icons for the Unified Interface

With the introduction of the Unified Interface in Dynamics 365, the way in which we customise areas of Customer Engagement are subject to change and one of these is updating icons for entities. It's always good admin to add an icon for any custom entity to enhance the user's experience. The Unified Interface uses Scalable Vector Graphics (SVG) so there is no longer the need to create web resources for different sized icons and as you can see from the below, they're pretty easy on the eye.


Instructions

First things first, you'll need to save the icon you want to use as an SVG. In general, I always use Metro Studio (https://www.syncfusion.com/downloads/metrostudio) to get my icons. When I've found the icon I need, best practice is to format it 32px for both dimensions and 0px Padding. Once you've done that, you need to export it.


Click Export and change the Save as type to SVG.


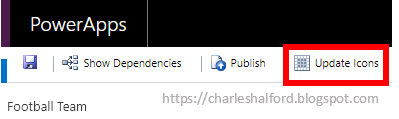
Now you have your icon, navigate back into Dynamics 365 and open up your entity within your solution. Click Update Icons as you would to update an icon in the old interface.

The first thing you'll notice is a new Unified Interface tab. Open this tab and then add your new icon as a web resource.
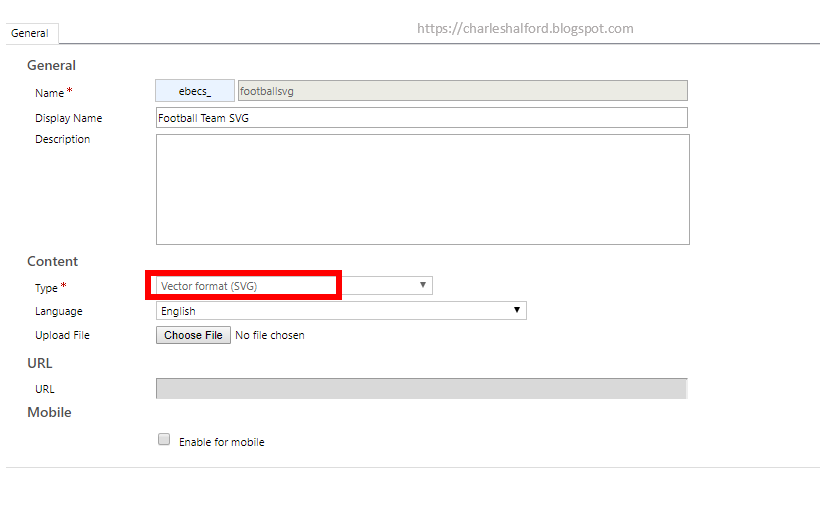
 Ensure your web resource is specified as an SVG, and remember to Save and Publish!


Once you publish your customisations and then navigate to a Unified Interface app, you will see the entity using the icon you've just added.


Arguably, it looks even better on mobile!


Tip: if you want change an icon for an area in the site map, such as the below.


You can do this in the Site Map Designer by opening the properties for the area and changing the icon (groups don't have icons).