


Instructions
First things first, you'll need to save the icon you want to use as an SVG. In general, I always use Metro Studio (https://www.syncfusion.com/downloads/metrostudio) to get my icons. When I've found the icon I need, best practice is to format it 32px for both dimensions and 0px Padding. Once you've done that, you need to export it.
Click Export and change the Save as type to SVG.

Now you have your icon, navigate back into Dynamics 365 and open up your entity within your solution. Click Update Icons as you would to update an icon in the old interface.

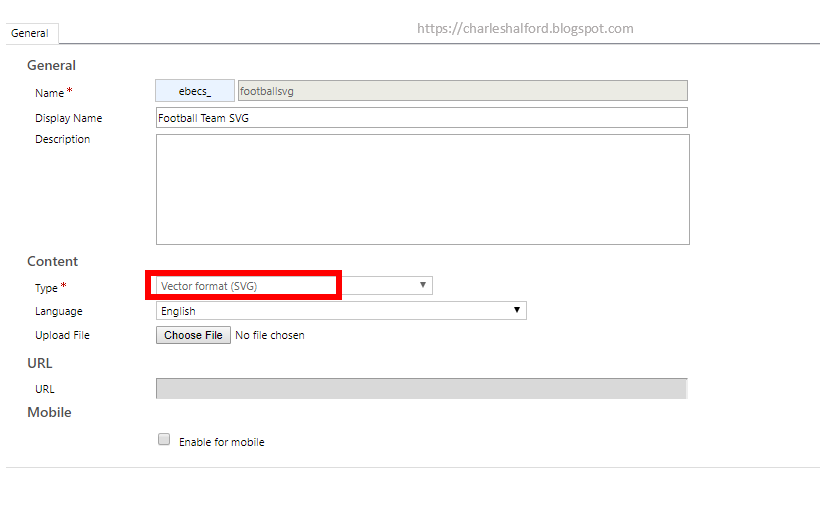
The first thing you'll notice is a new Unified Interface tab. Open this tab and then add your new icon as a web resource.

Once you publish your customisations and then navigate to a Unified Interface app, you will see the entity using the icon you've just added.

Arguably, it looks even better on mobile!

Tip: if you want change an icon for an area in the site map, such as the below.

You can do this in the Site Map Designer by opening the properties for the area and changing the icon (groups don't have icons).
